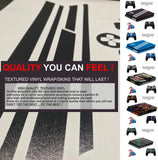
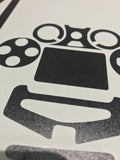
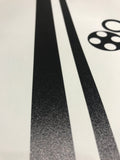
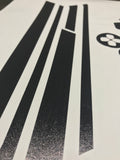
printed on REMOVABLE DUAL LAYERED TEXTURED VINYL FEATURING AIR RELEASE TECHNOLOGY ! to ensure a quality print and application !
PRODUCT INFORMATION
THIS IS FOR THE NINTENDO SWITCH ONLY !
Easy to install
Highest quality DUAL LAYERED TEXTURED VINYL WITH AIR RELEASE TECHNOLOGY FOR AN EASY APPLICATION !
Protect your Console and Controllers from dust and scratches
Precision cut for a perfect fit
PACKAGE
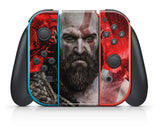
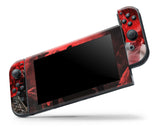
2 X skins for SWITCH Console ( SCREEN AND BACK )
2 X controller skins (as the pictures show)
2 X SKIN FOR THE HUB ( FRONT & REAR )
1 X SKIN FOR CONTROLLER BASE
SHIPPING INFORMATION
Please check that your delivery address is correct and up to date.
Shipped via royal mail
1st class fast shipment option available upon checkout
FITTING INSTRUCTIONS
What do I need to apply my skin?
Basically you do not need any special tools to fix your skin,
but we know from experience that following the installation
instructions makes it easier.
WHAT YOU NEED
A flat, clean surface - such as a kitchen table
a alcohol wipe or a damp cloth
1 dry cloth
1 cleaning cloth - for example, a cleaning cloth
SOFT Smoothing tool
Basic installation tips
Make sure your hands are thoroughly washed before you start
Become familiar with your skin - so you know which part needs to go where
Use a damp cloth to clean the console or controller - using nothing but water or better still a alcohol wipe
If the skin inadvertently sticking to something - don't pull or yank it, this can damage or stretch the skin
Okay, now what?
Prepare your table: you want a flat, clean surface - avoid dust, hairs and leftovers on the table
Prepare your hands: wash your hands with soap and water to remove all the natural oils from your hands - dry your hands thoroughly
Prepare your controller or console: The surface must be clean - use a damp cloth to clean the surface,
or a alcohol wipe
Make your device dry, use a dry cloth - do not leave any water residue
Now you can start placing the skin:
PRE ALIGN FIRST WITH THE BACKING STILL ON !
Please note - these are designed to have small gaps around to allow to heat expansion and to avoid being caught and damaged
Controller skin: work from the inside out, take your time. Make sure everything fits together.
Console skin: make sure you know what skin should be placed on what part of the console.
Ironing remaining fine bubbles through a lens cloth - make sure you do not damaged by pressing too hard the skin
Ready! You have just applied your skin!
THANKYOU FOR YOUR PURCHASE FROM NPRINTZ !


